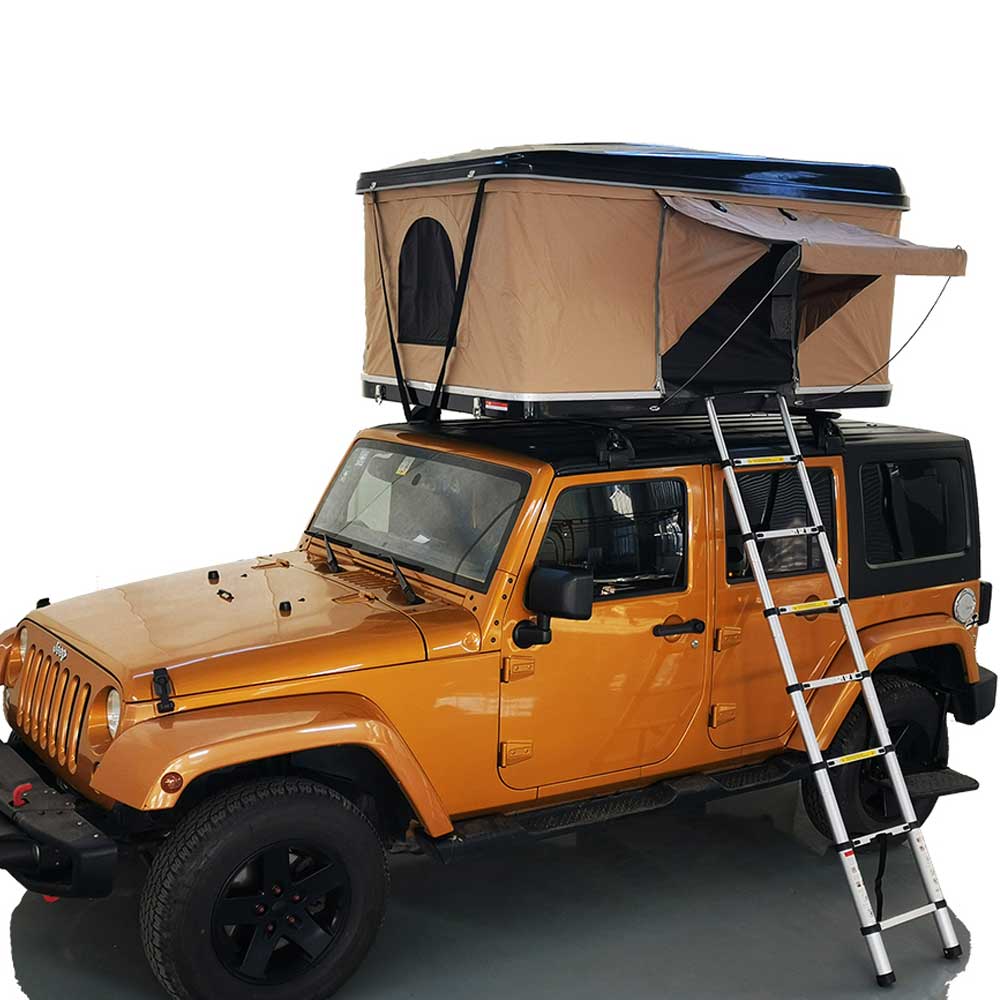
Setting Up Your Car Roof Top Tent for Camping: A Step-By-Step Guide
Camping with a car roof top tent is an exciting way to embrace the great outdoors. Setting up your tent correctly ensures a safe and comfortable experience. Follow these step-by-step instructions for a hassle-free camping adventure.
Step 1: Choose a Suitable Location
Before you begin, find a level and secure spot to park your vehicle. Avoid areas with overhanging branches or uneven terrain. This ensures stability and minimizes the risk of damage to your tent.
Step 2: Gather Your Tools
Collect all the necessary tools and equipment for the tent setup. Most roof top tents come with a complete kit that includes stakes, poles, and a user manual. Confirm that you have everything on hand.
Step 3: Open the Tent Cover
Start by unzipping and unfolding the tent cover. Some tents have a hard shell that pops open, while others have a soft cover that needs to be unrolled. Make sure the cover is fully extended and in position.
Step 4: Extend the Ladder
If your tent comes with an integrated ladder, extend it and secure it in place. This ladder will provide access to the tent once it's fully set up. Ensure it's firmly attached to the vehicle and the ground.
Step 5: Unfold and Extend the Tent
With the cover open, gently unfold and extend the tent. Be cautious of any resistance, and double-check that the fabric and frame are in good condition. Ensure the tent is centered on the vehicle roof.
Step 6: Install the Tent Poles
Locate the tent poles in your kit and insert them into the designated sleeves. Extend the poles to their full length and secure them in place. This step provides structural support to the tent and ensures it maintains its shape.
Step 7: Stake Down the Tent
Using the included stakes, secure the tent to the ground. Place the stakes through the loops or rings provided on the tent's base. This step enhances stability, especially in windy conditions.
Step 8: Make Necessary Adjustments
Check for any slack or tension in the tent fabric. Adjust the straps and guy lines to ensure the tent is taut and secure. This step is crucial for both safety and comfort during your camping experience.
Step 9: Test the Zippers and Windows
Before calling it a success, test all zippers and windows. Ensure they operate smoothly and without any snags. This step guarantees easy access to the tent and proper ventilation during your camping trip.
Conclusion
Setting up a car roof tent for camping is a straightforward process when you follow these step-by-step instructions. Taking the time to properly install and secure your tent ensures a safe and enjoyable outdoor experience. Now that your tent is ready, sit back, relax, and immerse yourself in the beauty of nature. Happy camping!


