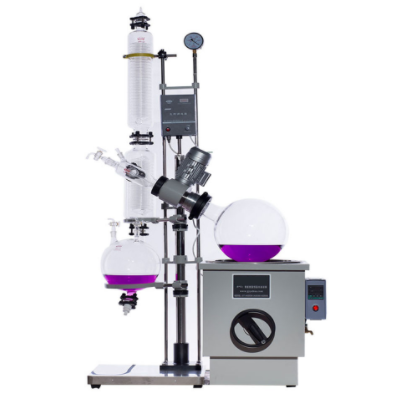
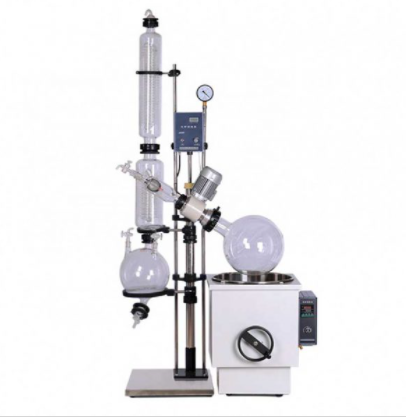
50L Rotary Evaporator Setup: A Step-by-Step Guide for Effective Distillation
A 50L rotary evaporator is a powerful tool for distillation, evaporation, and concentration in laboratory and industrial settings. Its large capacity allows for the processing of substantial volumes of solvent. To make the most of this equipment, it's crucial to set it up correctly.
Step 1: Safety First
Before beginning the setup process, ensure you are wearing appropriate personal protective equipment (PPE), including safety glasses, lab coat, and gloves. Additionally, make sure the area is well-ventilated.
Step 2: Choose the Right Location
Select a sturdy, level surface for your rotary evaporator setup. Ensure it's near a power source and that there's enough space for the rotary evaporator and accompanying equipment.
Step 3: Assemble the Rotary Evaporator
Base Unit Assembly:
Place the base unit on the chosen surface.
Ensure the unit is level using a spirit level.
Connect the power cord to a compatible electrical outlet.
Main Unit Setup:
Attach the main unit to the base unit securely.
Make sure all connections are tightened to prevent any leaks.
Evaporation Flask:
Choose the appropriate size and type of evaporation flask based on your experiment's requirements.
Attach the flask to the main unit using a flask clamp.
Securely connect the flask's neck to the condenser assembly.
Step 4: Install the Condenser
Vertical Condenser Setup:
Attach the vertical condenser to the main unit.
Make sure it is positioned securely and that all connections are tightened.
Coolant Connections:
Connect the coolant hoses to the condenser for efficient cooling.
Ensure that coolant flows smoothly through the condenser.
Step 5: Connect Vacuum Pump
Vacuum Pump Connection:
Connect the vacuum pump to the main unit.
Ensure that vacuum lines are properly attached and sealed.
Step 6: Attach the Collection Flask
Collection Flask Setup:
Choose an appropriate collection flask for your distillation.
Connect the collection flask to the main unit using a flask clamp.
Make sure the flask is securely positioned.
Step 7: Connect the Vacuum Controller
Vacuum Controller Setup:
Attach the vacuum controller to the vacuum pump and the rotary evaporator.
Ensure proper vacuum control for the distillation process.
Step 8: Start the Rotary Evaporator
Power On:
Switch on the power to the rotary evaporator.
Ensure that the instrument powers up without issues.
Step 9: Conduct a Test Run
Before starting your distillation, perform a test run with a non-critical sample to ensure that the system is operating correctly. Check for any leaks, vacuum stability, and temperature control.
Step 10: Begin Distillation
Once you've completed all the previous steps and verified the system's functionality, you can start your distillation process according to your experimental protocol.
Properly setting up a 50L rotary evaporator is essential for safe and efficient distillation processes in the laboratory. By following this step-by-step guide, you can ensure that your equipment is assembled correctly and ready to handle large-scale distillation tasks effectively. Always prioritize safety and verify the functionality of the system before conducting experiments with valuable samples.


